What to remember
- Blue Pond formed when erosion-control dams backed up water after the December 1988 eruption of Mount Tokachi, and suspended aluminium colloids make it turquoise.[1]
- Still mornings give mirror reflections and a deeper blue, while rain turns the water milky and wipes out reflections, so plan both wide and detail shots.
- Lavender starts blooming from late June to mid-August, and Furano's average July temperature is 22.1°C, which suits long hours in the fields.[2][3]
- The Colored Hokkaido: Furano Flower&Biei Blue Pond From Sapporo tour starts from US$48, with free cancellation up to 24 hours in advance.[4]
- The coach runs from Sapporo to Patchwork Road in Biei, Shirogane Blue Pond, Shikisai No Oka, a local restaurant and Farm Tomita.[4]
- Top choice Colored Hokkaido day tour from US$48 Duration1 day[4]Rating4.56 from 122 reviews[4]LanguagesEnglish, Chinese, Japanese, KoreanFree cancellationUp to 24 hours before[4] Check availability
- Cape Kamui & Otaru day trip from US$56 Duration10 hours[5]Rating4.55 from 87 reviews[5]LanguagesChinese, English, JapaneseFree cancellationUp to 24 hours before[5] See this tour
- Biei Furano Flower Sea tour from US$43 Duration10 hours[6]Rating4.76 from 51 reviews[6]LanguagesChinese, English, Japanese, Traditional ChineseFree cancellationUp to 24 hours before[6] See this tour
The average temperature in July is 22.8°C in Sapporo, 22.7°C in Asahikawa, and 22.1°C in Furano.
Is this the right day tour for a photographer?
Photography kit
- Spare battery and empty memory cards, checked the night before
- Microfibre cloth and a blower for dust picked up in the fields
- Polarising filter for pond reflections and a deeper blue sky
- Layers for a warm afternoon and a cool evening by the water
Shirogane Blue Pond: colour that shifts with the weather
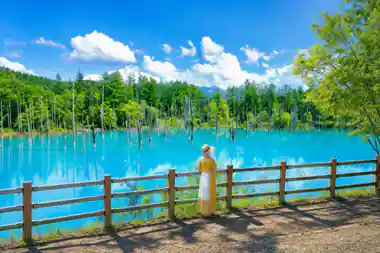
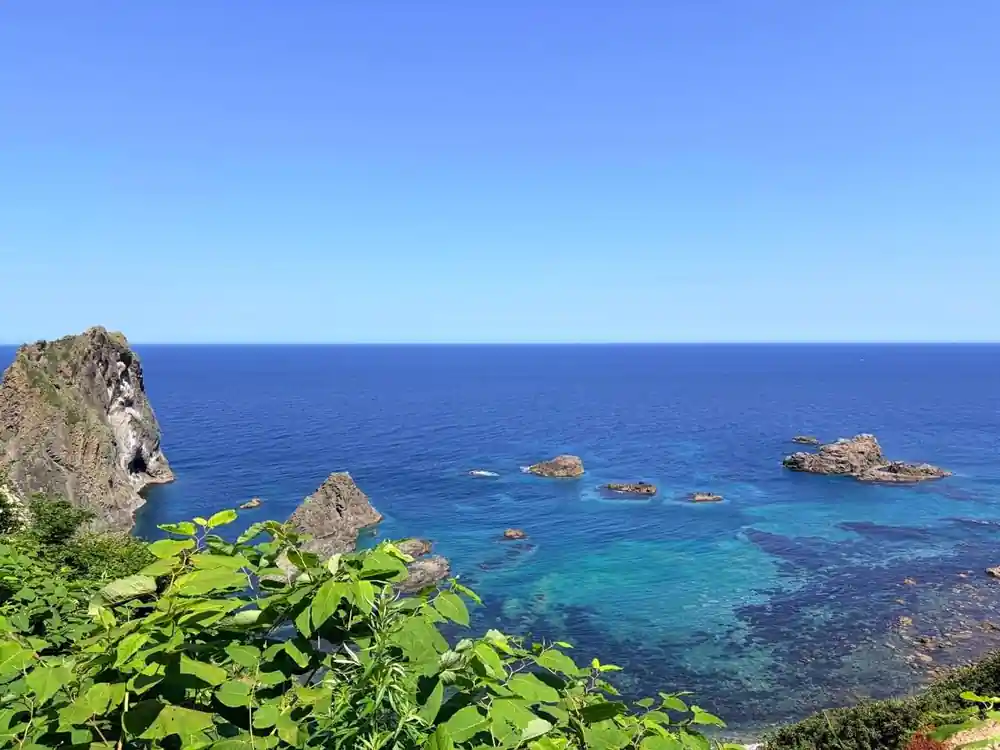
The pond does not look the same twice. Shirogane Blue Pond sits in the hills near Biei, below Mount Tokachi, and its water reads turquoise in bright light, milky grey after rain and pale silver under snow. The colour is in the water rather than in a filter. The pond was created when emergency erosion-control dams backed up water after the December 1988 eruption of Mount Tokachi, and aluminium colloids suspended in the water scatter light to produce that turquoise hue.[1] Mount Tokachi itself stands 2,077 meters high.[7]
Weather decides what you can actually photograph. On a still morning the surface mirrors the dead trunks standing in the water and the blue deepens towards the far bank. After heavy rain the water turns cloudy and the reflections disappear, so switch to close shots of the trunks and the shoreline instead. Direct sun makes the turquoise glow but flattens texture, while thin, high cloud usually gives the most even colour and the easiest exposure for a hand-held frame. Walk the gravel path and try several angles: where you stand in relation to the sun changes the colour as much as the forecast does.
What summer weather feels like in Furano and Biei
Furano's average July temperature is 22.1°C, so the flower season here is warm rather than hot, and you can stand in a field at midday without wilting.[3] Lavender starts blooming from late June to mid-August, and the fields change week by week inside that window.[2] Lavender has been cultivated in Hokkaido since the 1940s, and the rows you photograph belong to a working farming landscape as much as to a tourist one.[8]
Getting there is part of the plan. Furano is about a two hour drive from Sapporo using the Doo Expressway between Sapporo and Mikasa.[9] The population of Furano is approximately 26,000, including the incorporated communities in the outskirts.[10] Treat the coach ride as a working part of the day: clean your lenses, charge what needs charging, and set the camera up for the first stop. A polarising filter earns its place in the bag for haze and reflections on water.
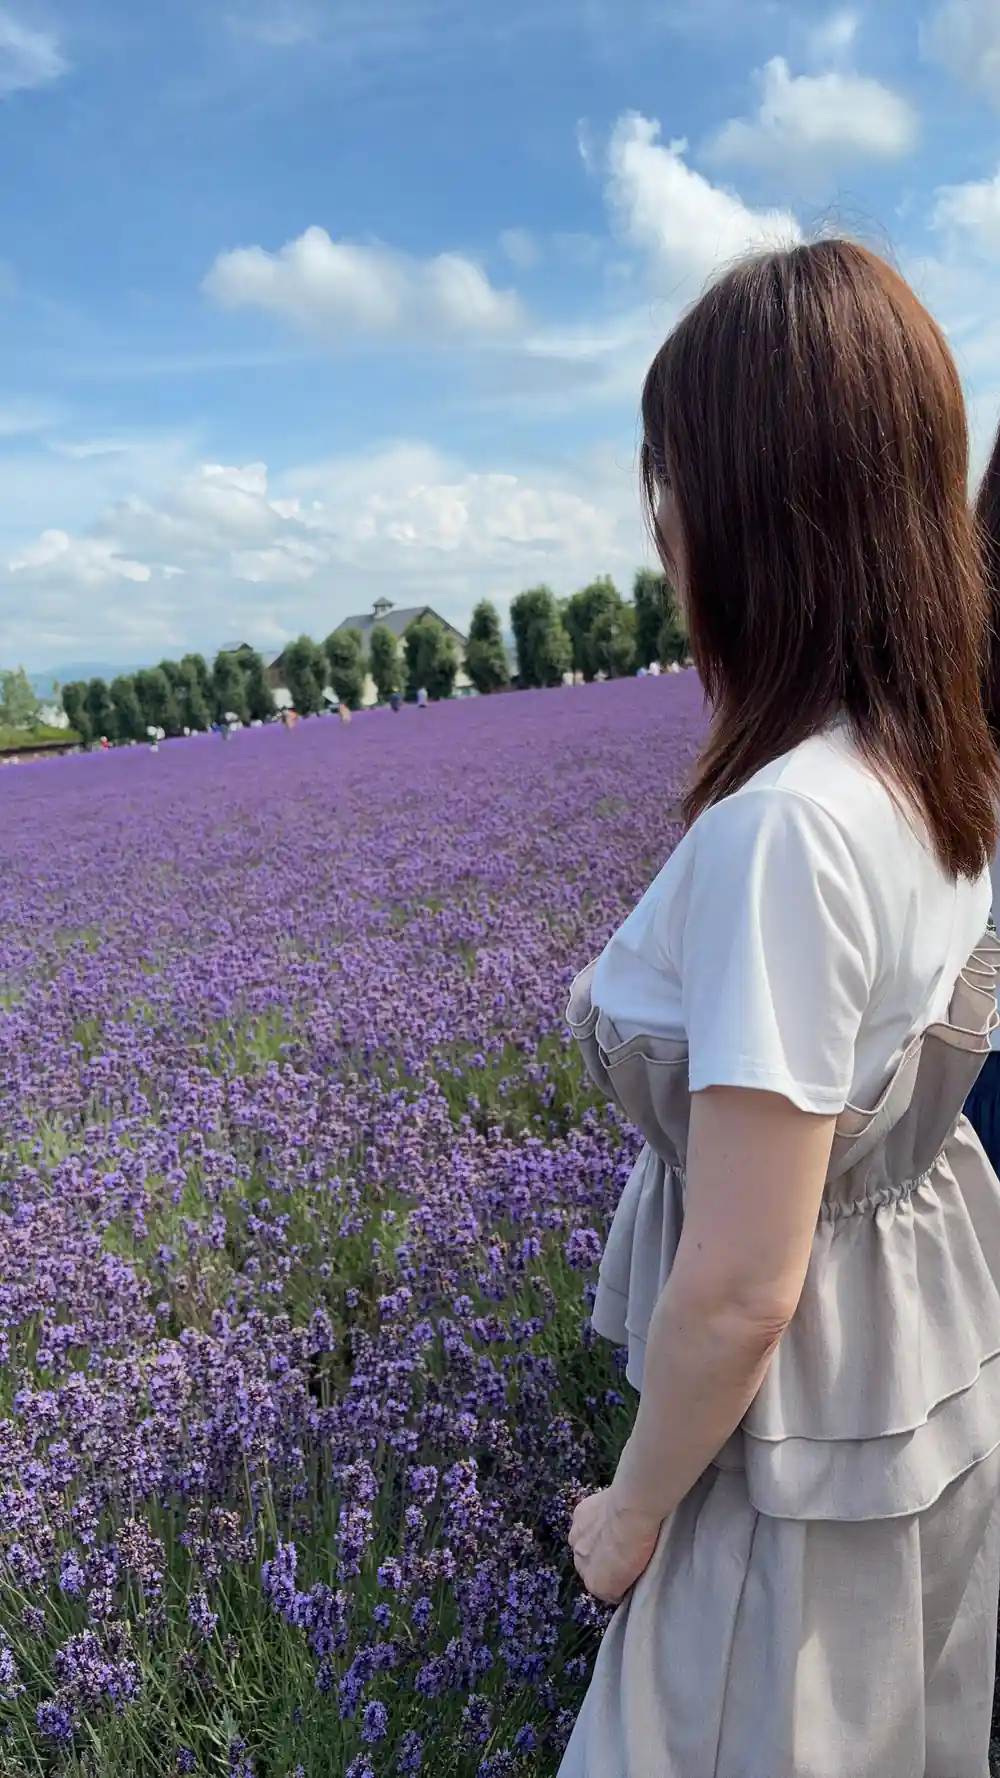
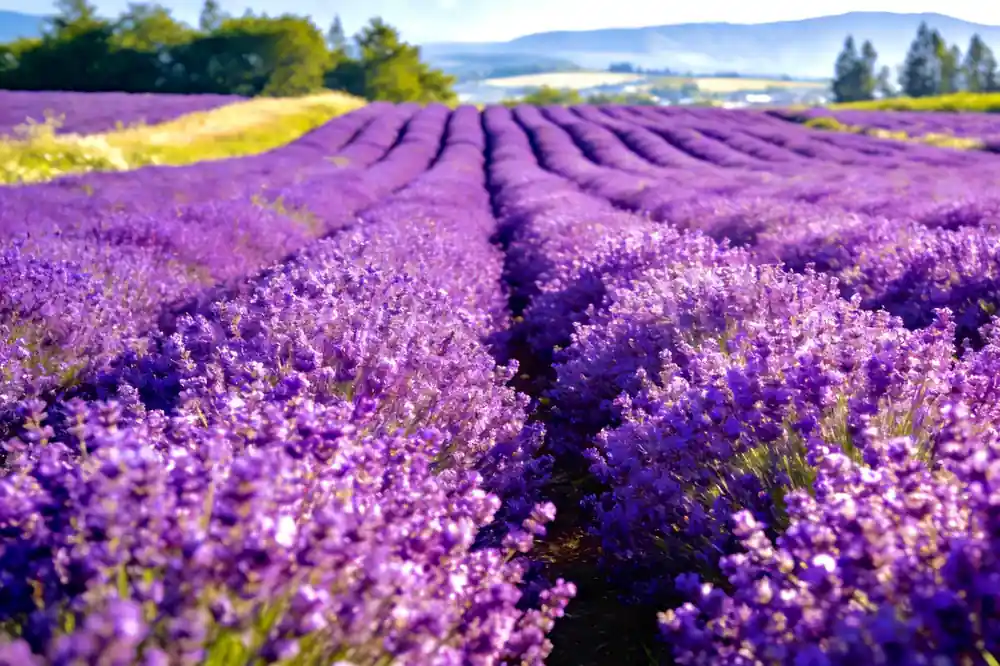
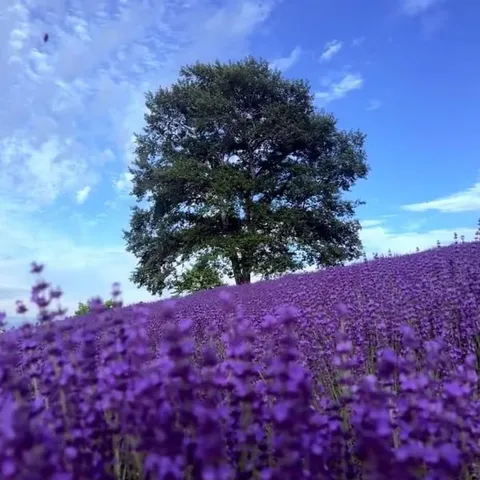
Lavender rows run to the horizon at Farm Tomita in the Furano hills.
Lens choice for lavender rows and the Biei hills
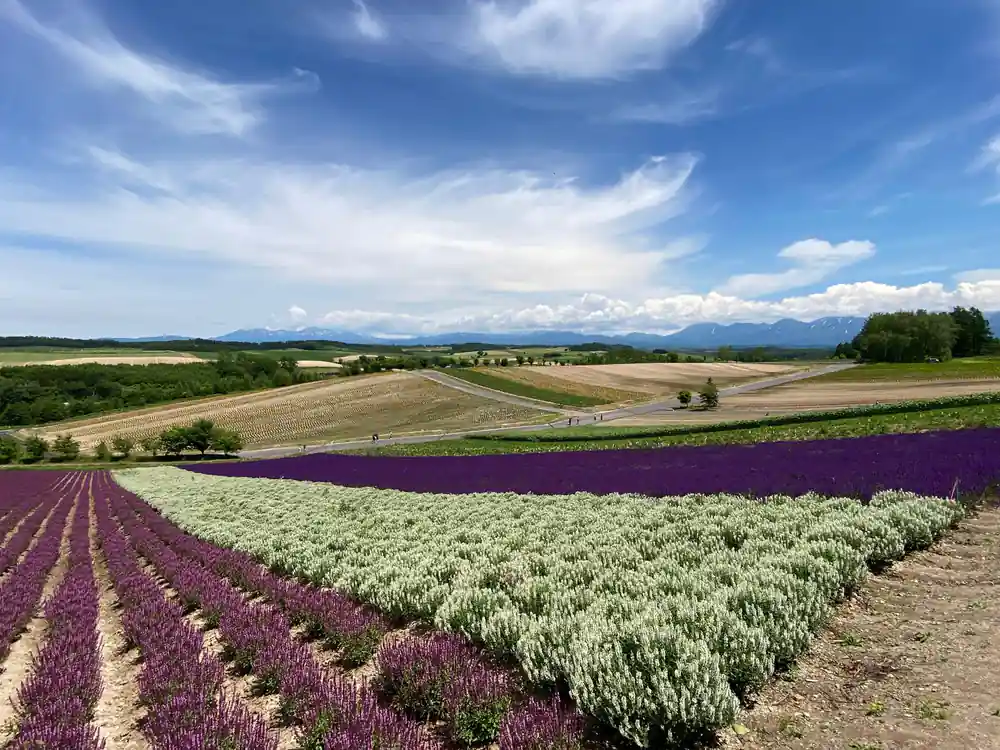
Two subjects, two different problems. The lavender rows run in long straight lines that reward a standard or short telephoto lens, because the compression stacks the rows into bands of colour. The Biei hills want width: this is a landscape built from many small fields, and a wider lens lets you include the farmhouses, the tree lines and the sky that make the view read as a patchwork rather than as one flat field. If you carry a single zoom, set it near the middle and move your feet instead.
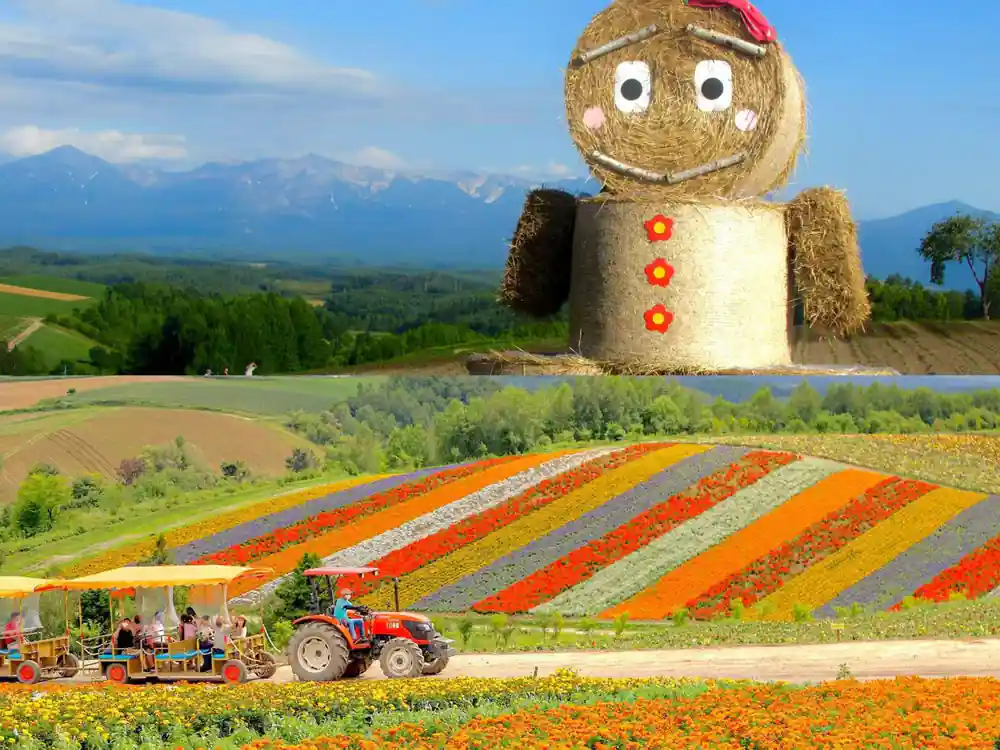
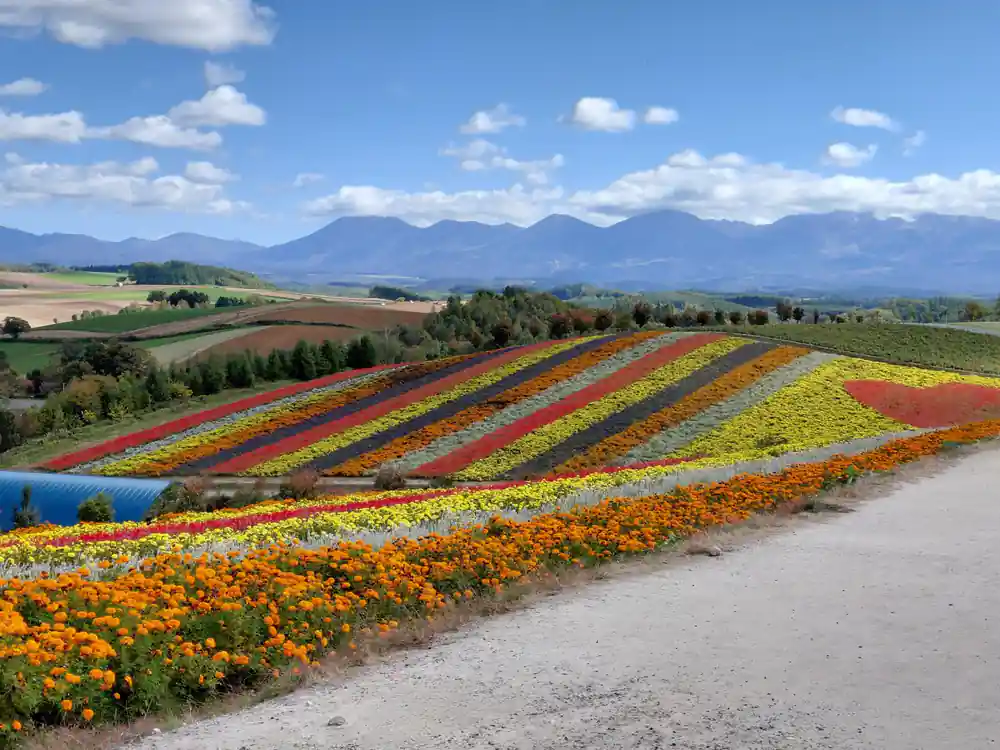
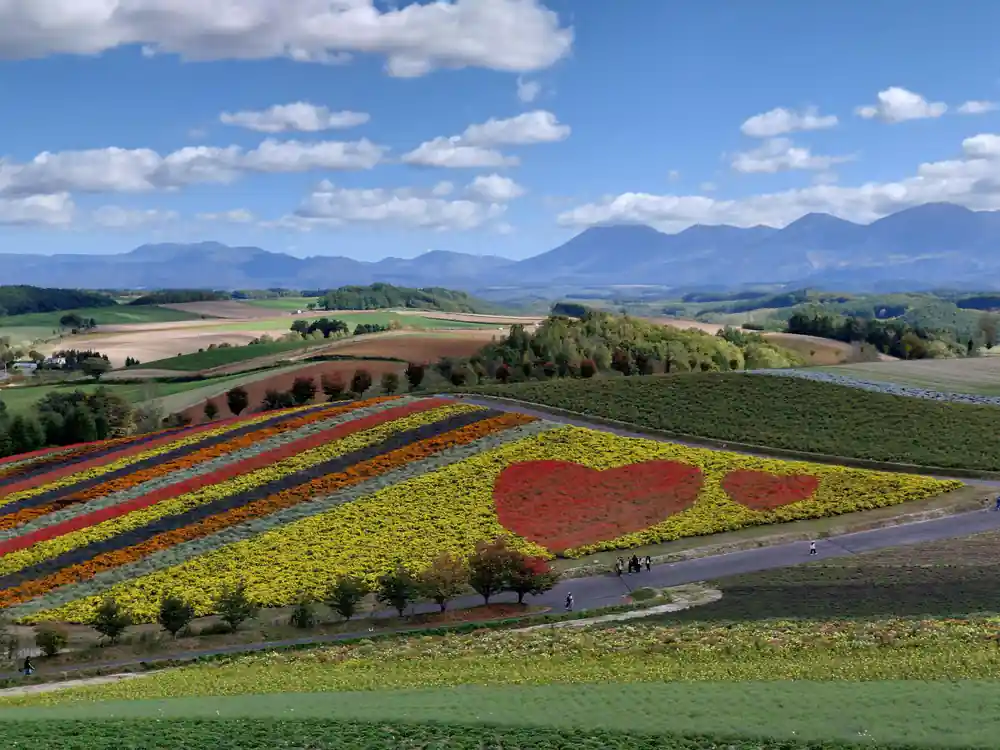
The area around the Seven Stars Tree in Biei is known as Patchwork Road, where different crops are planted in each plot, forming Biei's iconic scenery.[11] The colours change with the crop: golden wheat, purple potato flowers, green bean fields and brown plowed earth, with farmhouses and barns as punctuation.[12] Farm Tomita covers 29 hectares and welcomes over a million tourists annually, so the flower fields fill a wide frame as easily as they fill a close one.[13] Shikisai-no-oka is a panoramic flower garden that covers fifteen hectares, which is plenty of slope to work with.[14]
Exposure and white balance for lavender and blue water
Lavender is a trap for metering. A field of purple under a bright sky is a large, mid-to-dark subject, and a camera left to its own devices will often brighten it until the flowers turn washy and the sky blows out. Meter for the brightest part of the sky, or dial in a little negative exposure compensation and watch the highlight warning. Slight underexposure keeps the purple saturated, and shadows lift far more forgivingly than a clipped sky ever recovers.
White balance matters just as much. Auto white balance drifts between a sunlit row and a shaded one, and the same field can come back magenta in one frame and blue-violet in the next. Choose a fixed setting such as daylight and leave it, so a whole set stays consistent and you make one adjustment in editing instead of twenty. Shoot raw, and check the blue channel: purples and blues clip quietly, and a quick histogram glance between stops saves a card full of near-identical mistakes.
from US$48
A day from Sapporo to Blue Pond, Shikisai No Oka and Farm Tomita, with free cancellation up to 24 hours in advance.[4]
Crowds at Farm Tomita, Shikisai No Oka and the pond
Farm Tomita welcomes over a million tourists annually, so the famous viewpoints fill up quickly once the flowers are out.[13] The useful habit is to shoot the wide view first, then move to detail work: a low angle into a single row, a backlit stem against the sky, or the edge of a field where the rows run away from the crowd. Detail photographs are far easier to make in a busy place than clean wide shots, and they often end up being the frames you keep.
Shirogane Blue Pond and Shikisai No Oka follow the same rhythm. Walk past the first obvious viewpoint and look for the second and third angles that most people never reach. Carry the camera ready rather than packed away, keep your bag close in tight spaces, and make room for other visitors. On a coach trip the group moves together, and the minutes before everyone spreads out are worth more than any later attempt at the same view.
Shooting a short stop well: a working order
The Colored Hokkaido: Furano Flower&Biei Blue Pond From Sapporo tour runs for 1 day and stops at Patchwork Road in Biei, Shirogane Blue Pond, Shikisai No Oka, a local restaurant and Farm Tomita, with 2 starting location options in Sapporo.[4] Stops are short, so decide your order before you step off the coach. First the wide frame, taken from wherever the light is best. Second the detail, two or three close pictures that need no room and no crowd control. Third a frame with a bench, a sign or a path in it, to give the scene scale.
Set the camera up while you are still on the coach: exposure mode, a fixed white balance, file format and stabilisation. Change lenses before you arrive rather than in the wind and dust of a car park. If the light is flat, work on composition and colour; if the sun comes out, shoot fast while it lasts. The live tour guide speaks English, Chinese, Japanese and Korean, and can tell you how long you have at each stop, which is the most useful piece of information for planning a short shoot.[4]
Tripods, filters and site rules to check on the day
A tripod is rarely worth carrying on a coach tour. Stops are short, paths are busy, and midday light in the flower season is usually bright enough for a steady hand-held frame. A monopod, or simply bracing your elbows on a railing at the pond, does much of the same job. If you do want to set one up, ask your guide or a member of staff where it is allowed, since arrangements differ between sites and signage is the final word.
Drone permissions vary from site to site and season to season, so check well before you travel rather than on the day. Filters are simpler: a polariser tames reflections on the pond and deepens a blue sky, and a mild neutral density filter helps if you want a slower shutter on moving water. The kit that really matters, though, is boring. A spare battery, a cloth and a plastic bag for rain cover the conditions you are most likely to meet, and cold mornings on the hills are hard on batteries.
Day tours from Sapporo: from-prices in US dollars
From-prices in US dollars from these GetYourGuide listings:[4][5][6][15][16]
Estimate your day tour cost
From-prices in US dollars from GetYourGuide listings:[4][5][6][16]
When to go for light and flowers
Your photo stops
Before boarding
Set a fixed white balance, switch on stabilisation and clear your cards. Decide your first frame for each stop on the coach.
Patchwork Road
Shoot wide across the crop bands of the Biei hills, then pick out one field with a farmhouse in it for scale.
Shirogane Blue Pond
Walk past the first viewpoint, shoot reflections while the water is calm, then work the trunks close up.
Shikisai No Oka
Use the slope for layered frames of colour, and get low in a row so the flowers fill the frame edge to edge.
Farm Tomita
The rows run straight to the horizon here, and a short telephoto compresses them into bands of purple.
Book the Furano and Biei photo day from Sapporo
from US$48Reserve now & pay later